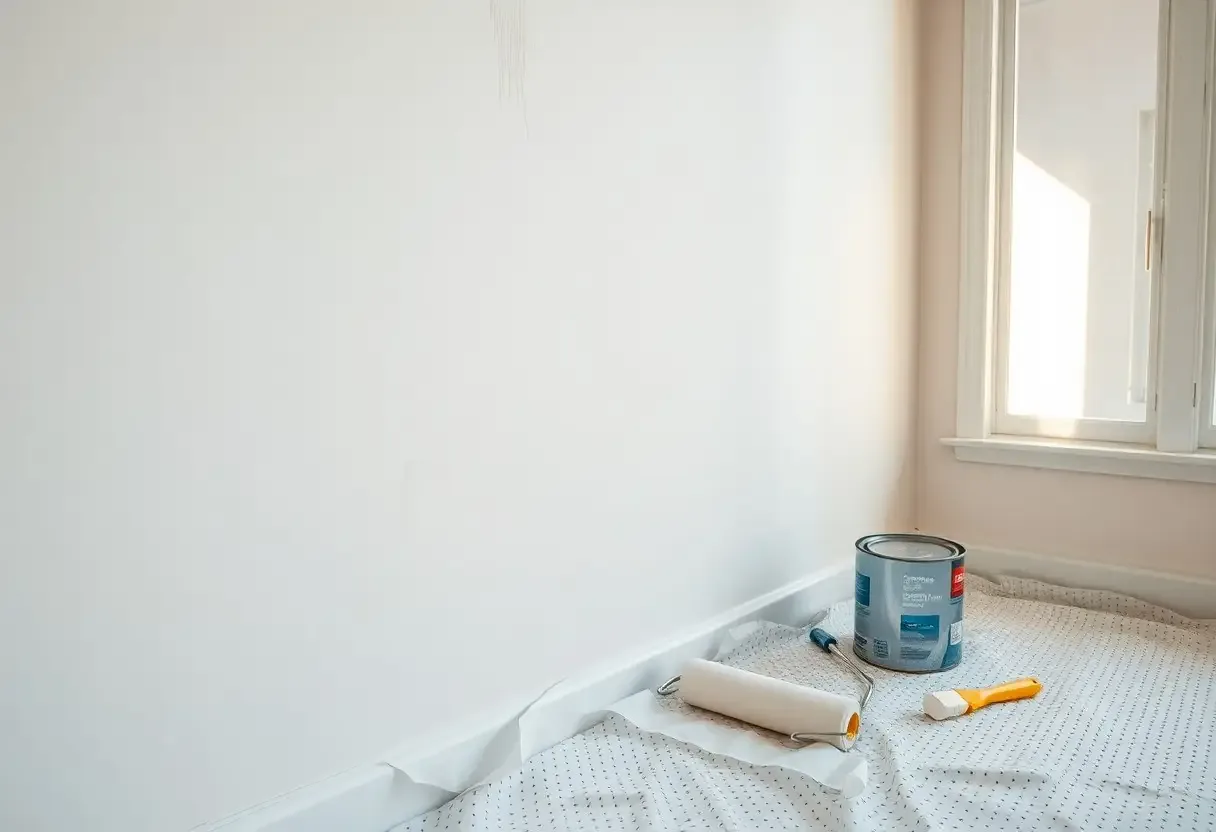
Many DIY painters are disappointed when their walls still look bad after painting them yourself, despite hours of effort. Improper surface prep is the most common culprit—dust, holes, or uneven patches show through paint. Using low-quality tools or paint leads to streaks and uneven coverage. Applying too thin or too thick coats creates visible roller marks and blotchiness. With the right technique and materials, you can achieve a smooth, professional finish.
Key Takeaways
Dust and unfilled cracks are invisible before painting but become glaring flaws the moment paint dries.
Cheap brushes shed bristles and cheap rollers create patchy marks that quality tools prevent entirely.
Applying a second coat before the first has fully cured causes lifting, bubbling, and adhesion failure.
Natural daylight is the most honest judge of a paint job — test your walls in morning sun before calling the job done.
The Great Deception of Preparation
You assume clean walls are ready walls, but true readiness goes far beyond a quick wipe. Most failures begin here, where dust, grease, and unseen flaws sabotage even the finest paint. What looks smooth in dim light becomes a canvas of flaws under daylight. Skipping proper prep doesn't save time—it guarantees a finish that fades, chips, or peels far sooner than expected.
Dust and the vanity of ignorance
Dust clings to every surface, invisible until paint reveals its presence. That haze you ignore absorbs moisture and repels adhesion, creating a film that causes blistering and uneven texture. You think you're saving effort, but you're inviting flaws that turn a professional look into a patchy disappointment within weeks.
Cracks that mock the painter's eye
Small cracks seem harmless, but they expand under temperature shifts and paint layers. Left unfilled, they become glaring faults once the light hits at the wrong angle. Your brush glides over them, believing they're insignificant—yet they dominate the finished wall, exposing inattention.
Those hairline fractures aren't just cosmetic—they're symptoms of movement, settling, or moisture beneath the surface. Ignoring them means every coat you apply will only highlight their presence over time. Proper repair means cutting out loose material, applying flexible filler, and sanding smooth. Without this, your paint job is a temporary cover, not a lasting transformation.
The Cheap Brush and Other Swindles
You think saving five dollars on a paintbrush is smart—until you see the streaks, the bristle fallout, and the uneven coverage. Cheap tools sabotage even the best technique, turning a weekend project into a frustrating redo. That bargain roller? It's not saving you money—it's costing you time, paint, and pride in your work.
Bristles that wander like lost sheep
Your brush sheds more than a husky in summer, leaving bristles glued to the wall like unwanted confetti. These rogue strands ruin smooth finishes and force you to pick them out mid-stroke, breaking your rhythm. A quality brush holds its shape and stays intact—this isn't luxury, it's basic function.
Rollers with the temperament of a stray cat
Your roller skips, drips, and dumps paint in clumps, refusing to spread evenly no matter how steady your hand. Inferior nap material collapses under pressure, leaving patchy spots and visible roller marks that scream "amateur."
Rollers with the temperament of a stray cat are unpredictable because their foam or low-grade fabric can't hold and release paint consistently. One pass leaves too much, the next too little—creating a blotchy surface that highlights every flaw. A high-quality roller with the right nap thickness applies paint evenly, reduces splatter, and glides without fighting you. You're not fighting your technique; you're fighting your tools.
The Impatience of the Uninitiated
You rush the job because you expect instant results, but paint needs time to breathe and bond. Skipping proper drying windows leads to streaks, uneven texture, and a finish that looks amateurish under natural light. What you save in hours, you lose in quality—a wall that should last years ends up needing correction months later.
Racing against the drying tide
Time works against you the moment the roller hits the wall. If you move too slowly, edges dry too fast, creating lap marks where wet and dry paint meet. These visible lines betray a rushed hand and are nearly impossible to fix without starting over.
The second coat's premature arrival
You apply the second coat too soon, eager to finish. But when the first layer hasn't fully cured, the paint lifts, bubbles, or rolls unevenly. This mistake ruins adhesion and clarity of color, turning what should be a rich finish into a patchy mess.
Waiting is not wasted time—it's part of the process. Paint needs at least 2–4 hours between coats, depending on humidity and temperature. If you cut this short, moisture gets trapped beneath the surface, weakening the bond and inviting peeling down the line. Patience here prevents costly touch-ups later, ensuring a smooth, lasting result that looks professionally done.
Lighting and the Truth It Tells
Light reveals what you thought was hidden. You may have missed thin spots, uneven sheen, or brush marks that vanish under dim bulbs but scream for attention in natural light. What looks flawless at night often fails by day, exposing the reality of rushed prep or unsteady technique.
Shadows that hide the amateur's hand
Shadows mask flaws you didn't know existed. Under low or angled light, uneven edges and patchy coverage blend into the background. This false confidence leads to skipped touch-ups and surfaces that look finished—until the lighting shifts and flaws emerge.
Sunbeams as the ultimate judge
Sunlight doesn't forgive mistakes. It highlights every roller stipple, missed spot, and inconsistent coat with brutal clarity. Direct sun turns subtle errors into glaring defects, showing exactly where your technique fell short.
When morning light floods your room, it acts like a high-resolution inspection tool. You'll see variations in paint thickness, differences in gloss level, and areas where tape bled or edges were cut poorly. This natural, unforgiving light exposes inconsistencies no lamp can replicate, making it the most honest evaluator of your work—good or bad.
The Chaotic Dance of the Stroke
You sweep the brush with confidence, but your strokes tell a different story—one of hesitation and inconsistency. Without a planned pattern, paint lands unevenly, creating visible patches and lap marks. Direction matters just as much as coverage, and random motions sabotage the smooth finish you're chasing.
Directions that lead nowhere
You start painting without a clear path, moving haphazardly across the wall. This lack of sequence causes wet edges to dry too soon, leaving behind unsightly lap marks where paint overlaps. A logical flow—like cutting in first, then rolling top to bottom—keeps transitions smooth and invisible.
The heavy hand of the novice
You press too hard, thinking more pressure means better coverage. Instead, you leave thick ridges and drips that catch the light. Excess paint doesn't hide flaws—it creates them.
Overloading your brush or roller is one of the most common mistakes that undermines a clean finish. When you apply too much paint at once, it pools along edges and sags down the wall. These thick areas take longer to dry and often peel or crack over time. Thin, uniform coats build a durable, smooth surface—not one heavy application. Let each layer do its job, and resist the urge to rush.
Frequently Asked Questions
Why do my walls still look patchy even after two coats of paint?
Patchiness often happens when the paint isn't applied evenly or when the roller doesn't maintain a wet edge. If you let one section dry before blending into the next, visible lines and uneven sheen appear. Low-quality paint or rollers that don't hold enough product can also leave thin spots. The surface might not have been cleaned properly before painting, so dust or grease prevented consistent absorption. Using the wrong roller nap for your wall texture—like a smooth roller on a rough surface—leads to uneven coverage. To fix this, sand the wall lightly, clean it with a damp cloth, and repaint with a high-quality roller and consistent technique, working in small sections with overlapping strokes.
Why does the old color still show through my new paint?
The previous color shows through when the new paint lacks sufficient opacity or when you skip using a primer. Dark or bold colors especially need a primer to block the old hue. Applying paint too thinly or using a low-pigment brand makes coverage worse. If you painted over stained or nicotine-covered walls without sealing them first, those areas can bleed through. Rolling too quickly or using a worn-out roller leaves gaps in application. For better results, always use a stain-blocking primer on problem areas, choose a paint with high hiding power, and apply full, even coats without stretching the paint.
Why are there visible brush marks and roller stipple on my walls?
Brush and roller marks happen when the paint dries before you can smooth it out. This occurs if you work in direct sunlight or hot conditions, which speed up drying time. Using too much pressure on the roller or not loading it evenly creates heavy stipple patterns. Cheap brushes leave streaks and bristles behind. If the paint is thick or hasn't been stirred properly, it won't level out smoothly. To reduce texture, use a high-quality synthetic brush for edges and a roller with the right nap length for your wall. Apply paint in a "W" or "M" pattern to distribute it evenly, then make light, unidirectional passes to smooth the surface. Work in manageable sections and avoid overworking the paint once it starts to set.
Get the Smooth, Professional Finish Your Walls Deserve
Drawing together the common mistakes reveals why your walls still look bad after painting them yourself. You likely skipped proper prep, used poor tools, or applied uneven coats. The finish reflects your technique, not just the paint. Clean surfaces, quality rollers, and steady hands make the difference between amateur and professional results.
When the result needs to be right the first time, Desler Painting is ready to help. Our interior painting services include full surface preparation, primer application, and a meticulous finish pass throughout Calvert County. Call (443) 684-4101 or reach us through our contact page to schedule your free estimate.
More reading
More From the Crew
Exterior Painting7 min
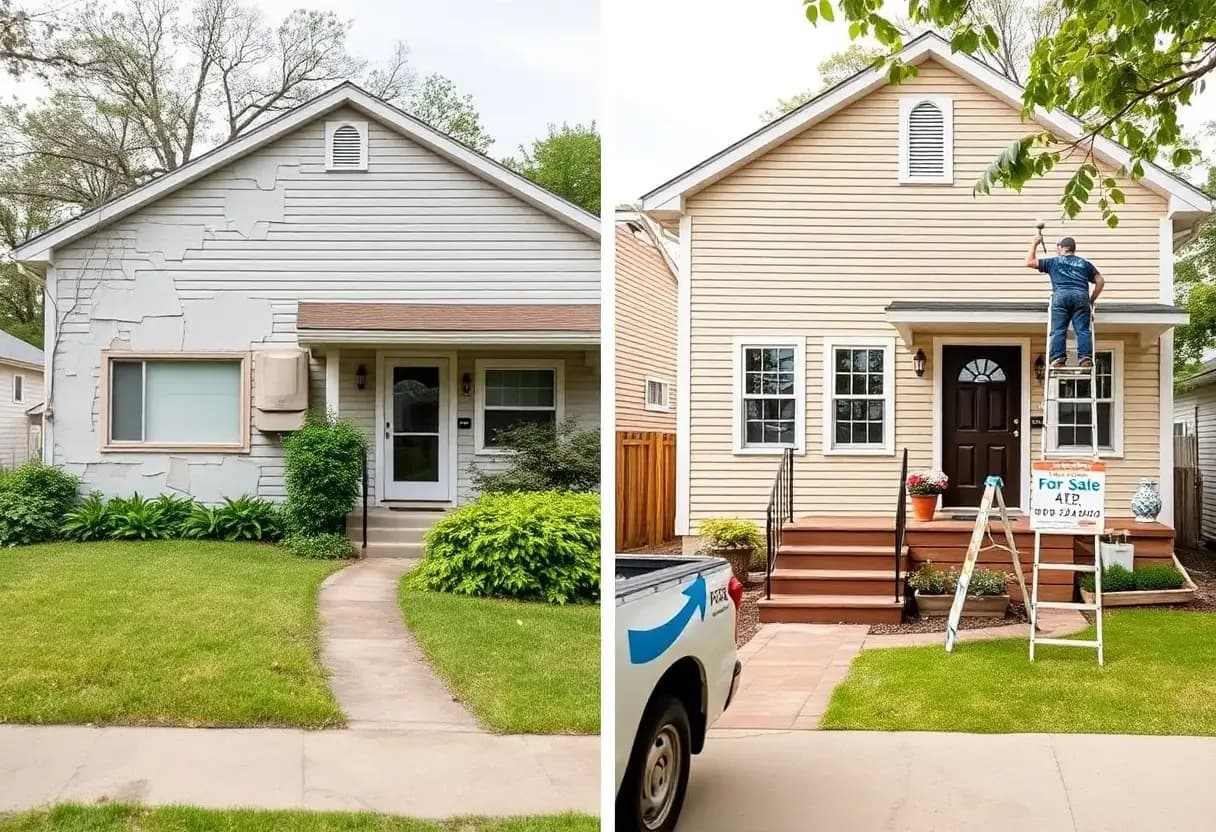
How a Professional Paint Job Can Increase Your Home's Value
A well-executed professional paint job is one of the most cost-effective upgrades you can make — boosting curb appeal, protecting surfaces, and signaling careful maintenance to buyers.
Interior Painting7 min
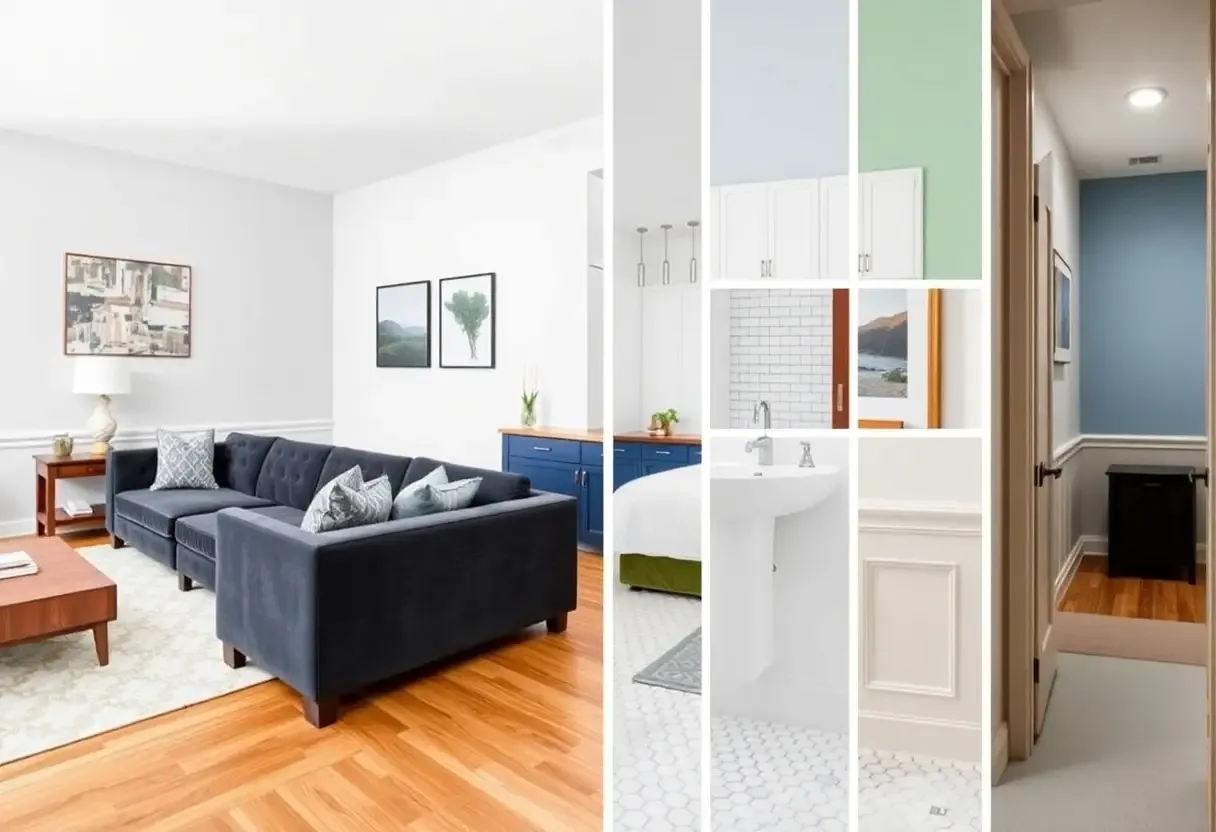
Room-by-Room Interior Painting Ideas for a Fresh New Look
Strategic color choices transform every room — from the living room salon to the bathroom bathing chamber — here are the palettes that work best in each space.
Exterior Painting4 min
How Exterior Paint Helps Defend Your Home Against Moisture Damage
Quality exterior paint is far more than color — it's the waterproof shield that keeps rain, humidity, and ground moisture from rotting your siding and walls.